Arduino Uno and Nano
The Arduino Uno and Arduino Nano are based on the Atmel ATmega328 processor, which is the smallest ATmega processor that uLisp supports. It runs at 16 MHz and provides 32 Kbytes of program memory, 2 Kbytes of RAM, and 2 Kbytes of EEPROM. Other boards based on the ATmega328, such as the Arduino Nano, should be equivalent.
You should install the AVR-Nano version of uLisp, which excludes the documentation and array features which would otherwise prevent it from fitting within the program memory. It will give room for about 318 objects, and it's capable of running all the Simple examples.
Boards
Arduino Uno
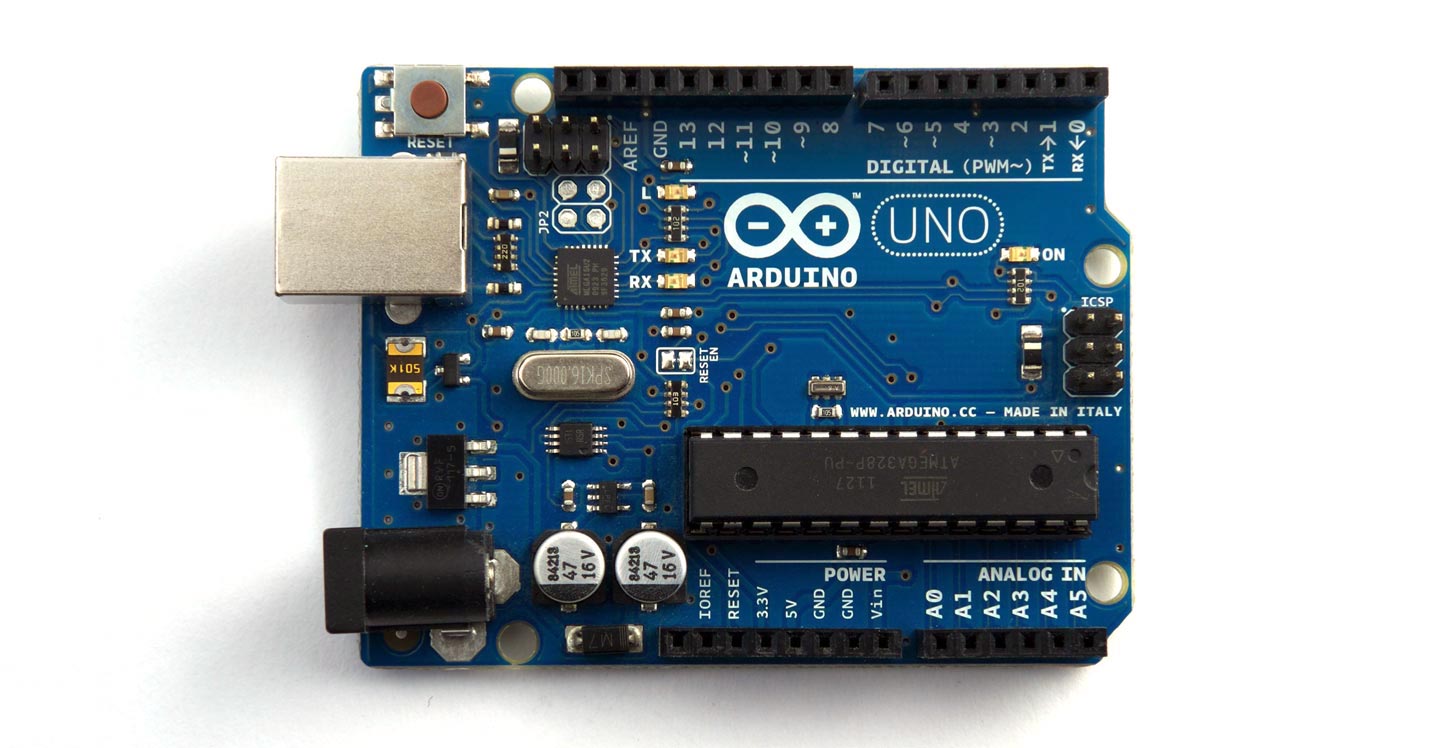
I've tested uLisp with an official Arduino Uno board:
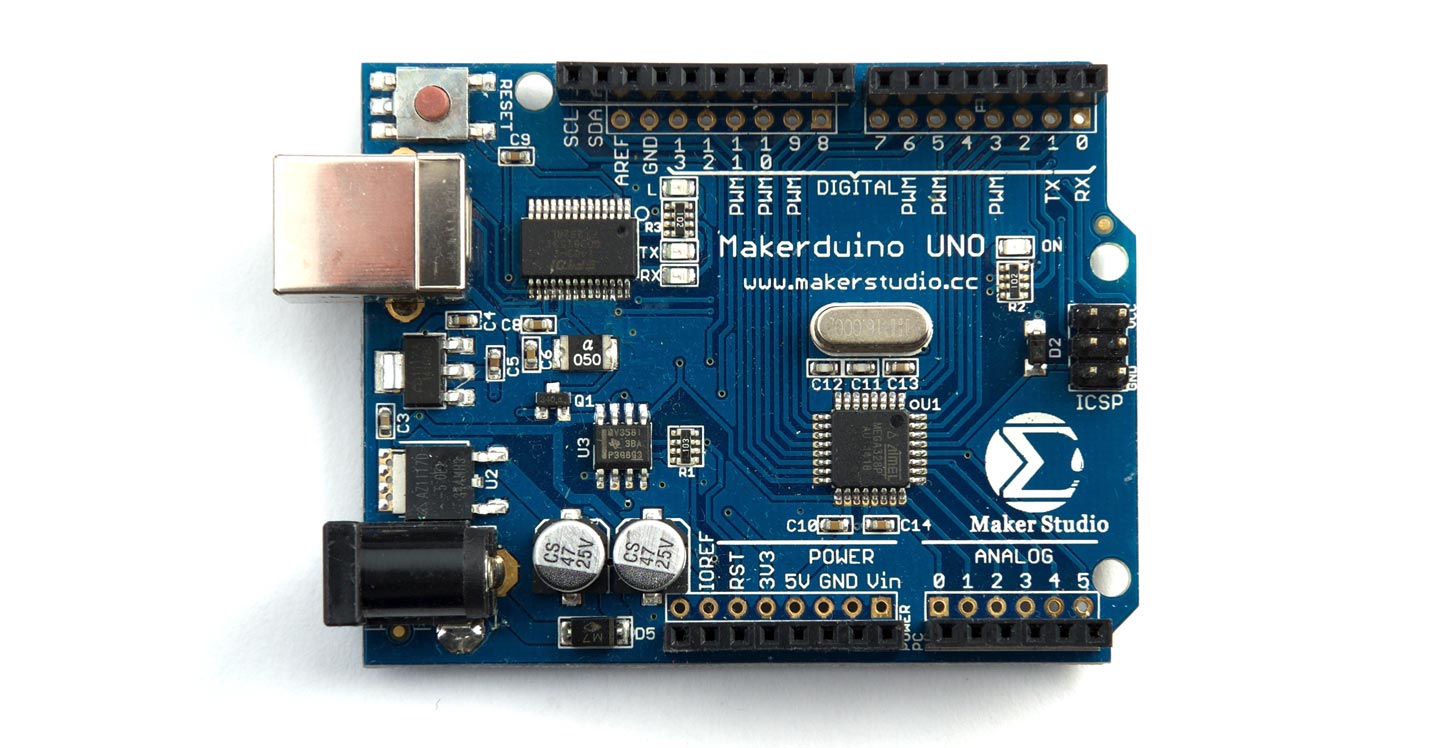
Also with a Makerduino UNO from MakerStudio:
LED
The Arduino Uno has an orange LED connected to the digital pin 13 which you can flash with the following program:
(defun blink (&optional x)
  (pinmode :led-builtin :output)
  (digitalwrite :led-builtin x)
  (delay 1000)
  (blink (not x)))
Run it by typing:
(blink)
Exit by typing ~.
Analogue inputs
The Arduino Uno has six analogue inputs which you can access on digital pins 0 (A0) to 5 (A5). They have 10-bit precision.
Analog reference
You can use analogreference to set the reference voltage for the analogue inputs:
| Keyword | Description |
| :default | Default internal reference of 5 volts |
| :internal | Internal reference of 1.1 volts |
| :external | Voltage applied to the AREF pin (0 to 5V only) |
Analogue outputs
You can generate an analogue output using PWM on any of the digital pins 3, 5, 6, 9, 10, or 11. The precision is 8 bits.
Playing notes
You can use the note function to play tunes on pins 3 or 11. For example, the following function scale plays the scale of C on the specified pin:
(defun scale (pin)
  (mapc
   (lambda (n) (note pin n 4) (delay 500))
   '(0 2 4 5 7 9 11 12))
  (note))
For example, connect a piezo speaker between digital pin 3 and GND, and evaluate:
(scale 3)
Serial
The Arduino Uno has one serial port on pin numbers 0 (RX) and 1 (TX).
SPI
The Arduino Uno has one SPI port on pin numbers 12 (MISO), 11 (MOSI), and 13 (SCK). The clock can be between 125 kHz and 8 MHz.
I2C
The Arduino Uno has one I2C port on pin numbers 13 (SDA) and 19 (SCL).
Arduino Nano
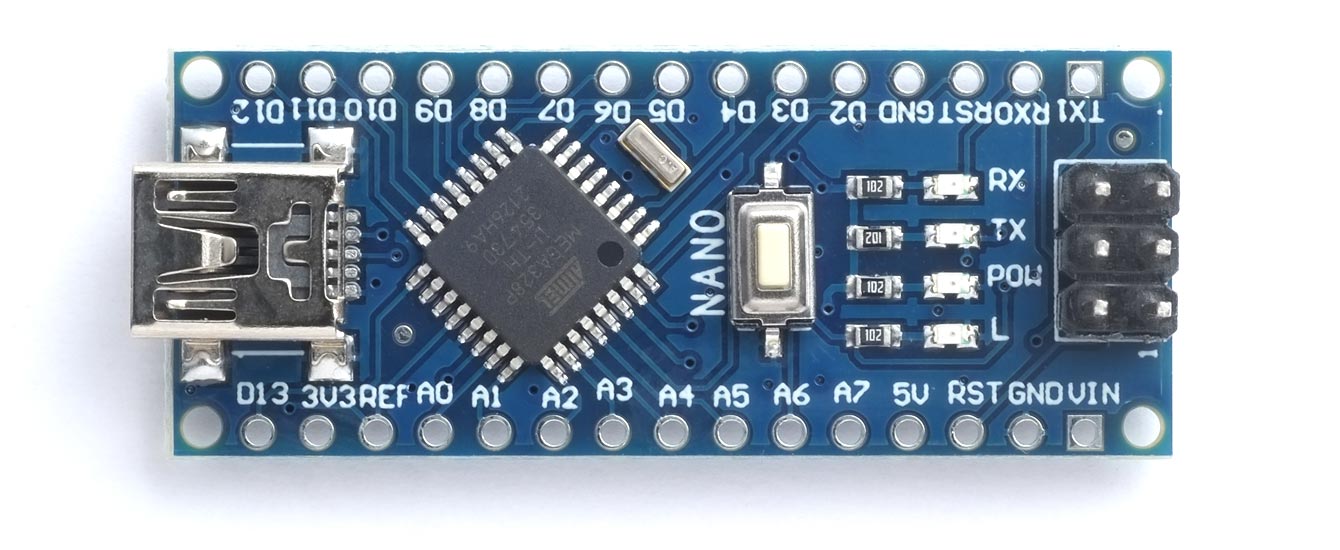
The Arduino Nano is essentially just a smaller form-factor version of the Arduino Uno, based on the same ATmega328P processor, and it's a popular board because Chinese clones are available very cheaply. However, the Arduino Nano differs from the Arduino Uno in one crucial aspect:
- Arduino Uno (Rev 3): Flash memory 32 KB of which 0.5 KB used by bootloader.
- Arduino Nano: Flash memory 32 KB, of which 2 KB used by bootloader.
If you try and install uLisp on the Arduino Nano as it stands you will get the error:
Sketch uses 32194 bytes (104%) of program storage space. Maximum is 30720 bytes.
Sketch too big
The solution is to install the improved Uno bootloader, and then treat the Nano as a Uno. The procedure is as follows:
- Disconnect the USB cable from the Arduino Nano.
- Connect an ISP programmer to the 6-pin ISP header on the Arduino Nano.
I used the USBasp programmer that comes with a cable that fits on the 6-way header; it’s available from many vendors and on eBay:
Orient the header plug with MISO connected to the pin marked 1.
Alternatively you can use an Arduino Uno as an ISP programmer:
How to burn the bootloader in an Arduino Nano using an Arduino UNO
Connect it to the ISP header with six cables. If your board doesn’t have an ISP header, connect to the six corresponding pins on the edge connector: GND, VCC, MOSI, MISO, SCK, and RESET.
Then proceed as follows:
- On the Arduino IDE Tools menu set Programmer to USBasp or Arduino as ISP as appropriate.
- On the Tools menu choose the Arduino AVR Boards core and set Board to Arduino Uno.
- Choose Burn Bootloader.
You should now be able to use the Arduino Nano by selecting Arduino Uno as the board type, and you’ll be able to upload uLisp.